List your event on AusLanka
AusLanka Events helps Sri Lankan community organizers promote events across Australia. You can publish a public event page, show key details to attendees, and send visitors to your current ticketing provider.
Right now, event listings use external ticketing. That means your event appears on AusLanka, and the ticket button sends attendees to your ticket page on TryBooking, Humanitix, Eventbrite, Ticketmaster, your own website, Facebook Events, Google Forms, or another provider.
We are also nearly finished building in-platform ticket selling for AusLanka. Early organizers will have access to very competitive launch rates, with ticket sales, QR tickets, scanning, and sales tracking handled directly on AusLanka.
Before you start
Prepare these details before creating your listing:
- your event title
- a short description for event cards
- a full event description
- event category and subcategory
- event date, start time, end time, and timezone
- venue details, online details, or hybrid event details
- a portrait event banner image
- your external ticket or registration URL
- ticket price range, or whether the event is free
The current event creation flow is Australia-focused. Choose the Australian state, city, venue, and timezone that match your event.
Step 1: Open the organizer dashboard
- 1Go to events.auslanka.com.au.
- 2Sign in with your AusLanka account.
- 3Open the organizer dashboard.
- 4Select Create Event.
If you are not set up as an organizer yet, the platform will ask you to complete the organizer application first. The organizer profile includes your public organizer name, profile image, bio, location, public contact details, social links, personal contact details, and legal or business information where required.
Step 2: Choose your event type
You can create two types of event listings:
- Single Date Event: one date, one location, and one main ticket link.
- Multiple Shows / Tour: multiple dates or cities, with a ticket link and pricing for each show.
Use a multi-show listing for tours, roadshows, multi-city concerts, or events with more than one session.
Step 3: Choose ticketing
Select External Ticketing when creating the listing. This is the active option today.
External ticketing lets you:
- publish your event on AusLanka
- link visitors to your ticket provider
- show indicative pricing before visitors click away
- track event page views and ticket-link clicks
The Sell on Platform option is coming soon. It is planned for organizers who want to sell tickets directly through AusLanka instead of sending attendees to another website.
Step 4: Add the basic event details
Start with the main information attendees will see first:
- Event title: use a clear name people can recognize quickly.
- Category and subcategory: choose the closest match, such as Music & Concerts, Cultural & Religious Events, Food & Drink, Family & Kids, Community & Social, or another available category.
- Tags: optional, but useful for extra context. You can choose up to 15.
- Short description: a quick summary for event cards and search results.
- Full description: the main event story, highlights, schedule, performers, inclusions, and important notes.
The full description can include what attendees should expect, who is performing, what makes the event special, arrival notes, dress code, language, age guidance, and any important terms from your ticket provider.
Step 5: Add date, time, and location
For a single-date event, add:
- timezone
- start date and time
- event duration or custom end time
- optional doors-open time
- event format: in-person, online, or hybrid
- venue details for in-person or hybrid events
For a multi-show event, add each show separately. Every show needs its own date, location, and ticket link. You can also mark individual shows as free or add a different price range for each show.
Step 6: Upload the event banner
The banner image is required because it is the main visual on event cards and the public event page.
Use:
- portrait 3:4 image
- recommended size of 1080 x 1440px
- PNG, JPG, or WebP
- file size under 5MB
Choose an image that is easy to read on mobile. Avoid placing too much small text on the artwork.
Step 7: Add your ticket link
Choose the platform where tickets or registrations are handled. Supported options include Eventbrite, Ticketmaster, BookMyShow, Humanitix, TryBooking, Sticky Tickets, Moshtix, Ticketek, Oztix, Facebook Events, Google Forms, your own website, or Other.
Then add:
- the direct ticket or registration URL
- the button text, such as Buy Tickets, Get Tickets, Register Now, Book Now, RSVP, Join Free, or Sign Up
- whether the event is free
- the indicative price range in AUD
For external listings, ticket purchases, refunds, chargebacks, cancellations, and disputes are handled by the external ticketing provider or the event organizer, not by AusLanka.
Step 8: Preview and publish
Use the preview step to check the public card and event details before publishing.
You can choose:
- Save Draft: keep the event private while you finish setup.
- Publish: make the event visible to visitors.
After publishing, you can still edit the event details from the organizer dashboard.
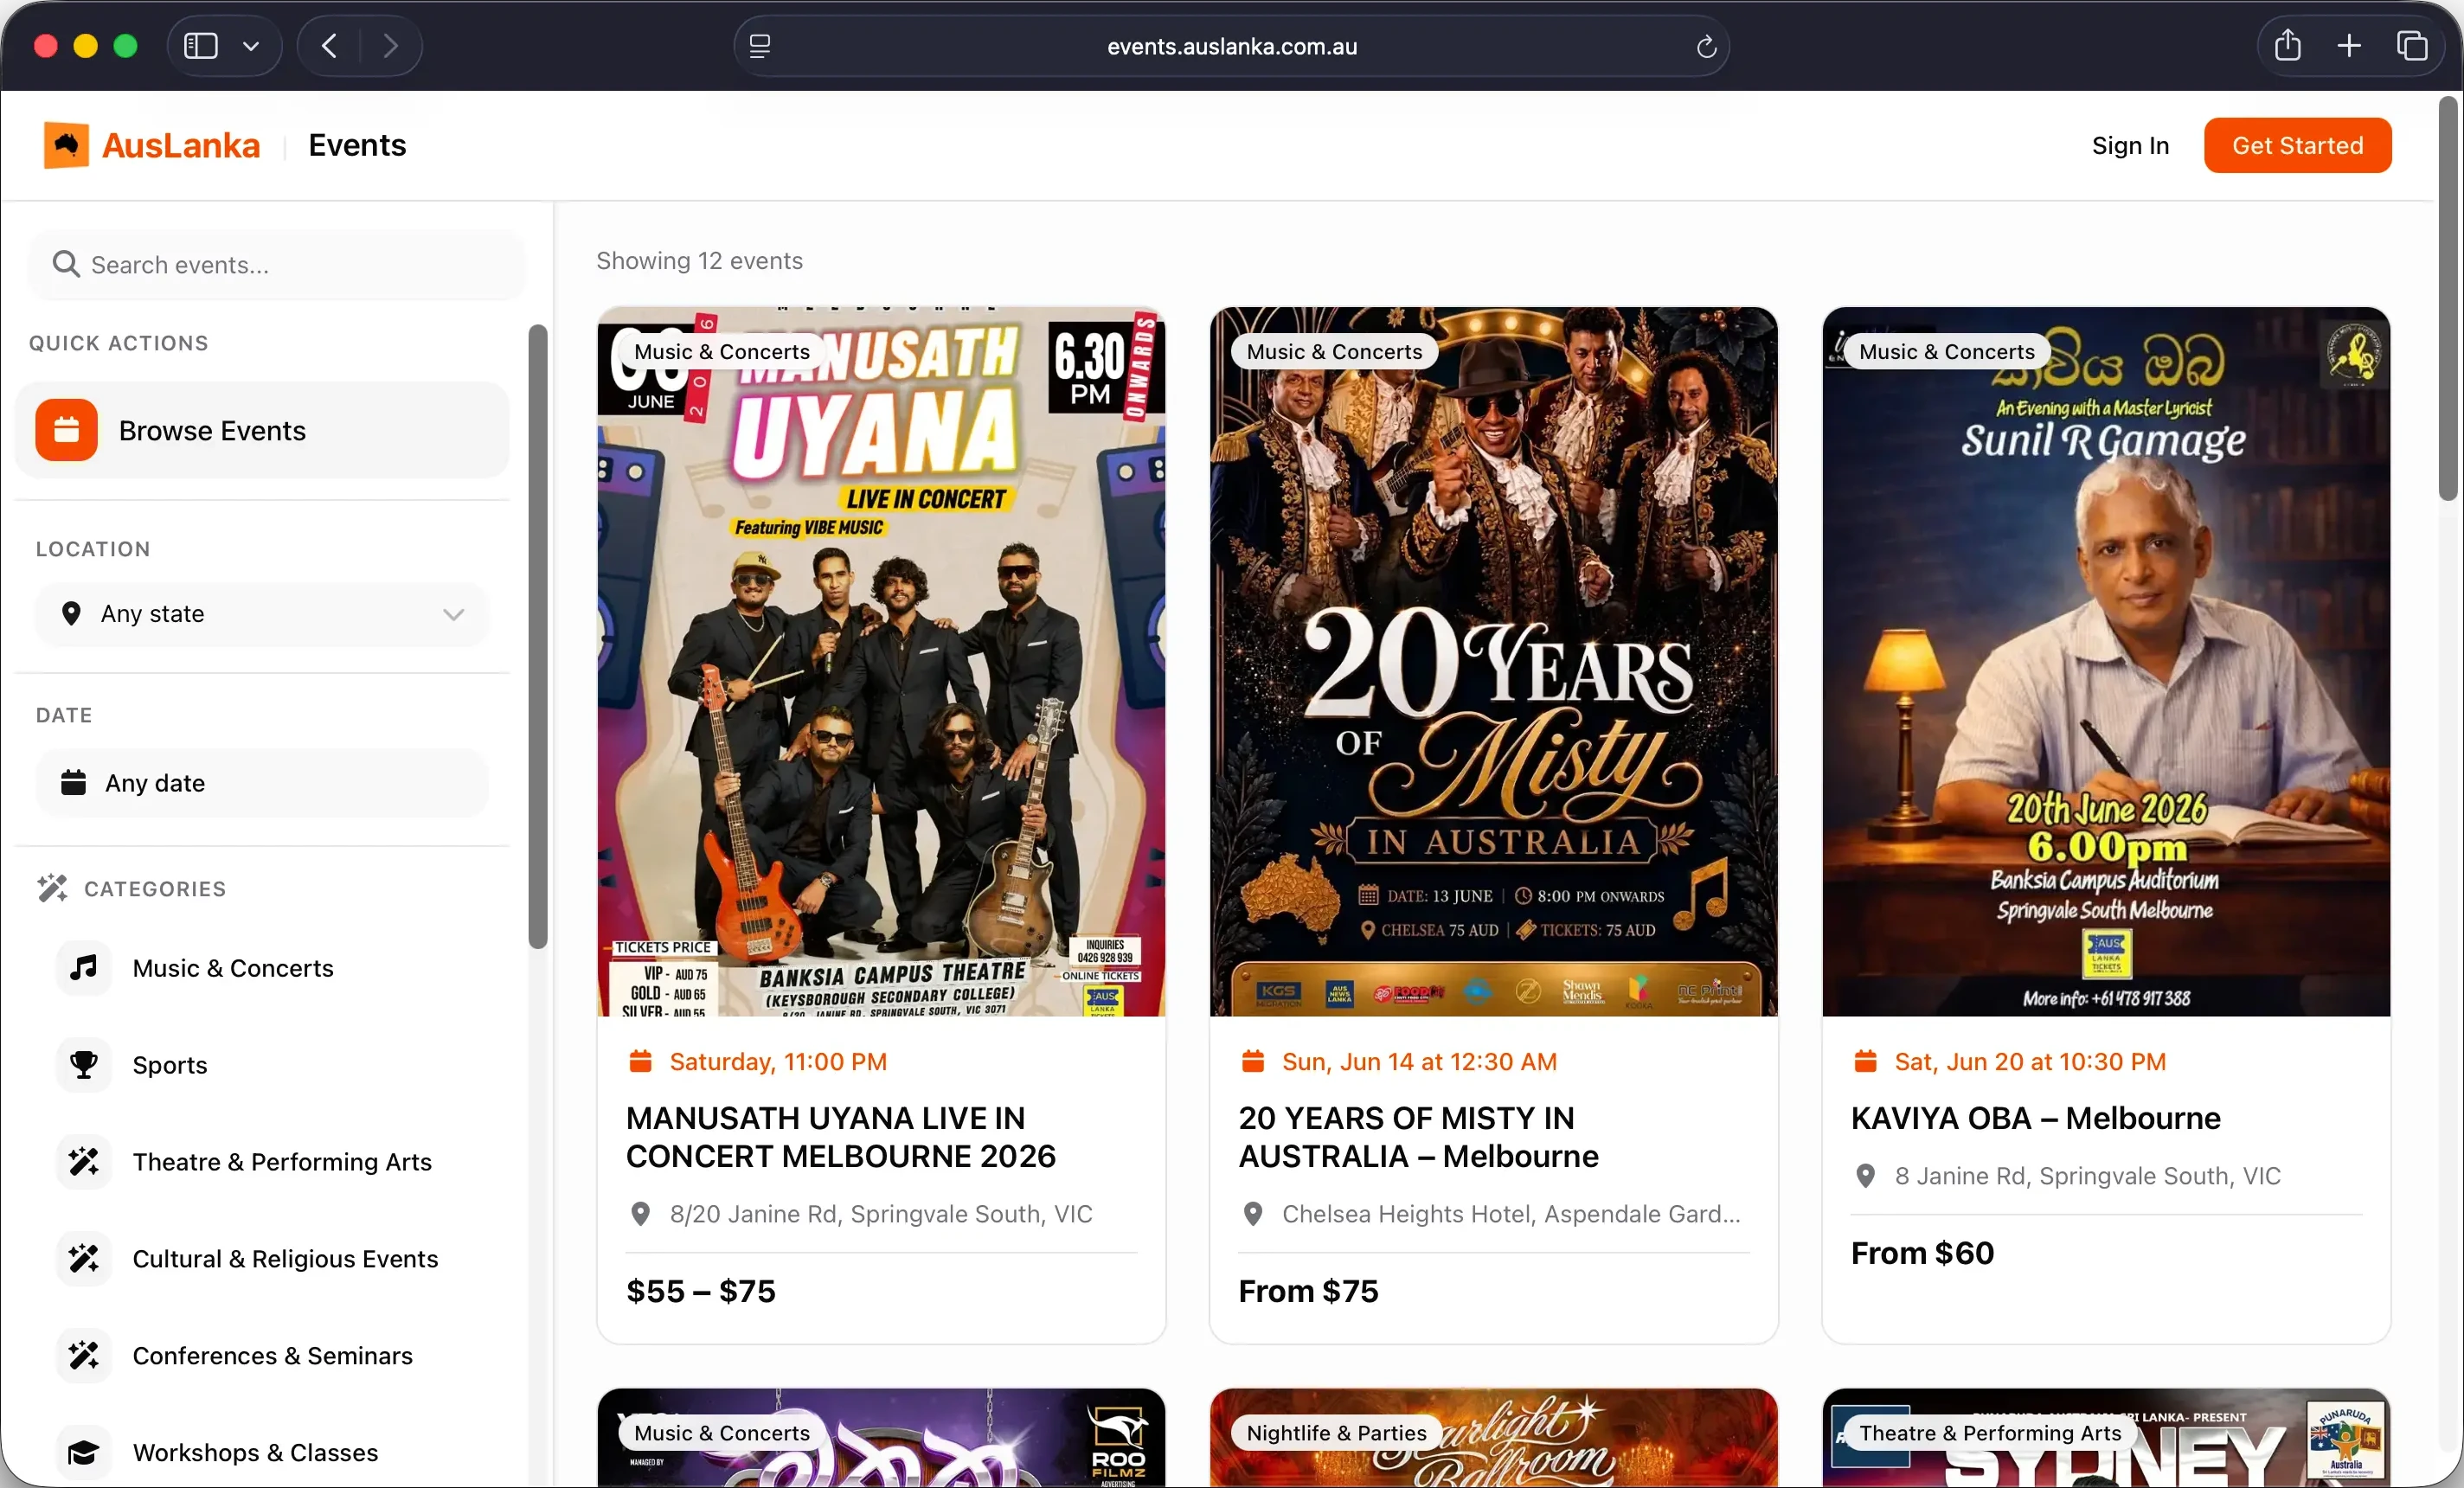
What visitors see
Published events can appear on the AusLanka Events browse page. Visitors can search and filter by location, date, and category.
On the public event page, visitors can see:
- event banner
- category
- date and time
- location or online event details
- description
- ticket price or free-event status
- ticket button
- share button
- organizer profile
- extra information you add, such as FAQ, lineup, sponsors, parking, accessibility, age information, and gallery images
For external ticketing, clicking the ticket button opens your external ticket provider.
Manage your event after publishing
Open My Events in the organizer dashboard to manage your listings.
You can:
- search your events
- filter by all, upcoming, drafts, and past events
- open the event management page
- copy the public event link
- edit event details
- view the public page
- view analytics
- unpublish or cancel an event
- delete an event when needed
Deleting an event is permanent, so only use it when you are sure.
Complete your setup
After the main listing is created, add extra details to help attendees feel confident.
Useful setup sections include:
- FAQ: answer common attendee questions.
- Lineup: add performers, artists, speakers, hosts, or special guests.
- Sponsors: show sponsors and partners.
- Parking: add transport and parking details.
- Accessibility: add accessibility features and age restrictions.
- Gallery: add extra photos.
These sections can make the event page more complete and help reduce repeated questions from attendees.
Track performance
The organizer dashboard shows useful activity for your listings, including:
- total events
- published events
- draft events
- upcoming events
- event page views
- ticket-link clicks
Use these numbers to understand how many people are viewing your event and how many are clicking through to buy or register.
In-platform ticket selling is coming soon
AusLanka is nearly done building direct ticket selling inside the platform.
The planned ticketing flow includes:
- selling tickets directly on AusLanka
- AUD payments through Stripe
- free and paid ticket tiers
- QR code tickets
- ticket emails and downloads
- door scanning
- staff access for managers and scanners
- real-time sales and ticket dashboards
- refunds and order management
Early organizers will get very competitive launch rates. If you are planning an upcoming event and want to be considered for early access, contact AusLanka support with your event name, date, expected attendance, and ticketing needs.
Quick checklist
Before publishing, check that:
- the event title is clear
- date, time, and timezone are correct
- venue or online details are accurate
- the ticket URL opens the correct ticket page
- the price range matches your ticket provider
- the banner image looks good on mobile
- the description explains what attendees will experience
- your organizer profile looks complete